从Terminal过渡到Item2
一直听说item2是个比terminal强大的终端工具,为了提升命令行的体验,从teminal切换到了item2。
下载Item2
https://www.iterm2.com/downloads.html
设置开启快捷键
前提是item2在后台运行
-> 进入preference(command ,)
-> keys
-> Hotkeys(左下角) 勾选Show/hide iTerm2 with a system-wide hotkey
然后就按喜好设置快捷键啦
配色方案
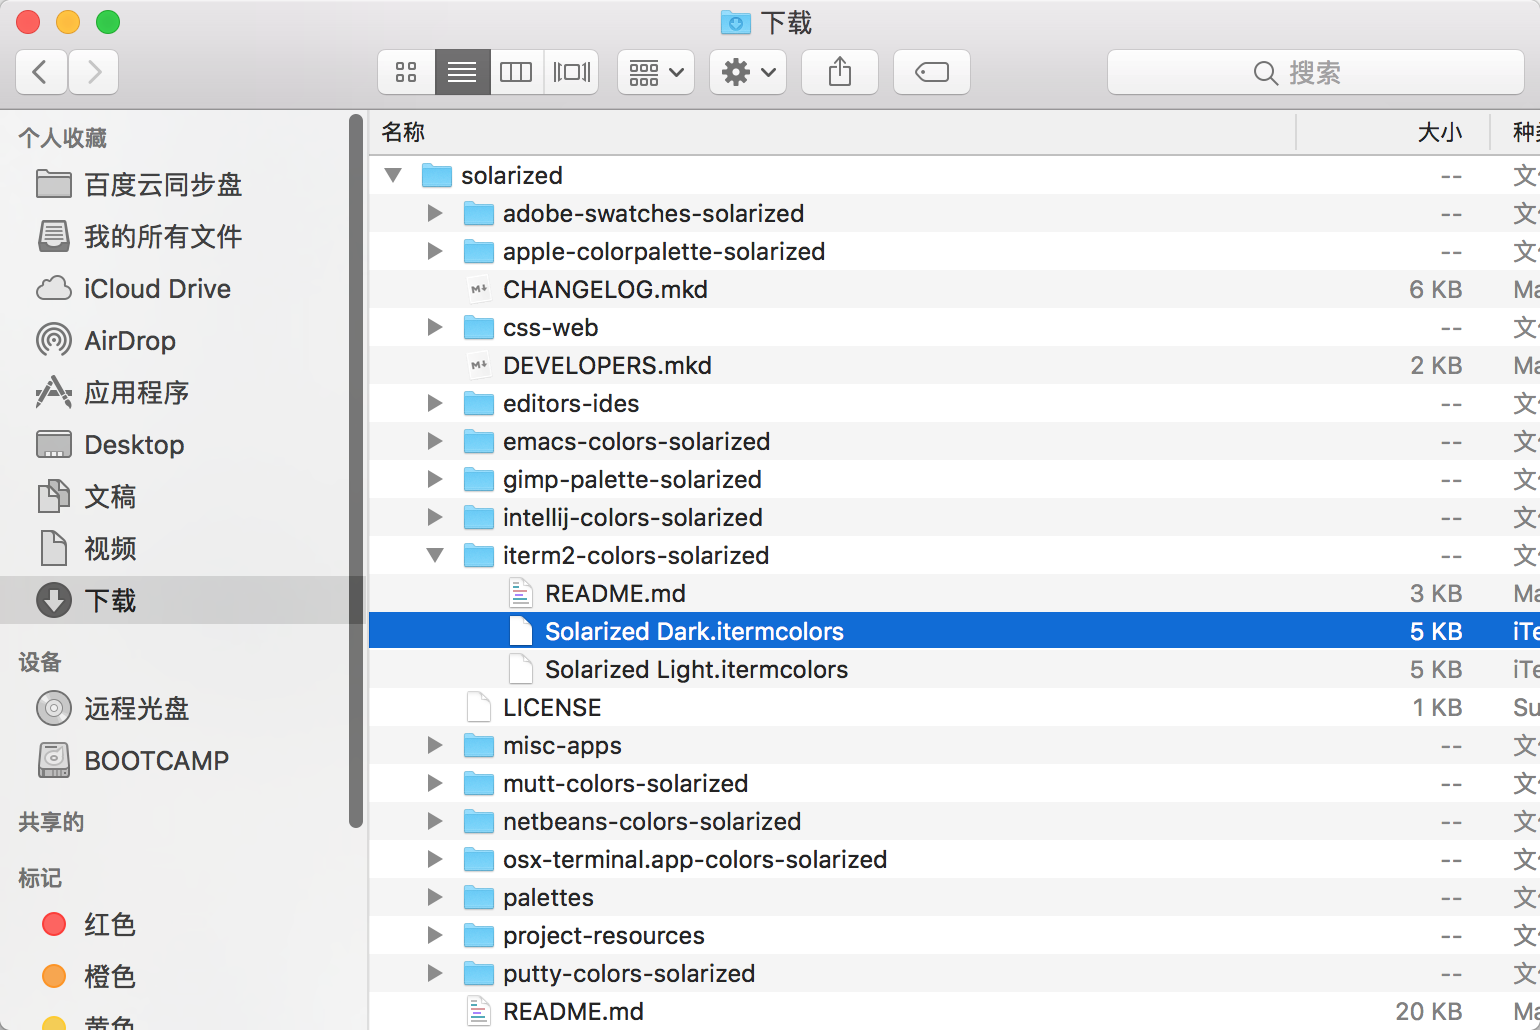
可以自定终端背景色或导入现成的配色方案,比如Solarized
跳到Download下载后选择相应的文件导入
你可以选择双击’.itermcolors‘文件或在preference -> profiles -> colors -> Color Presets(右下角)-> import… 中导入
安装zsh
osx中默认zsh为4.0版本,可直接切换使用或下载最新的5.0版本
1 | brew install zsh |
将zsh设置成系统默认shell,以代替bash。 用编辑器打开/etc/shells,在末尾添加/usr/local/bin/zsh,保存关闭。 在终端中执行以下命令:
1 | chsh -s /usr/local/bin/zsh |
重启iTerm2
安装oh-my-zsh
纯傻瓜的方式对zsh进行配置并得到强大的功能,官方地址
curl安装或使用wget
1 | curl -L http://install.ohmyz.sh | sh |
编辑 ~/.zshrc 文件
1 | vi ~/.zshrc |
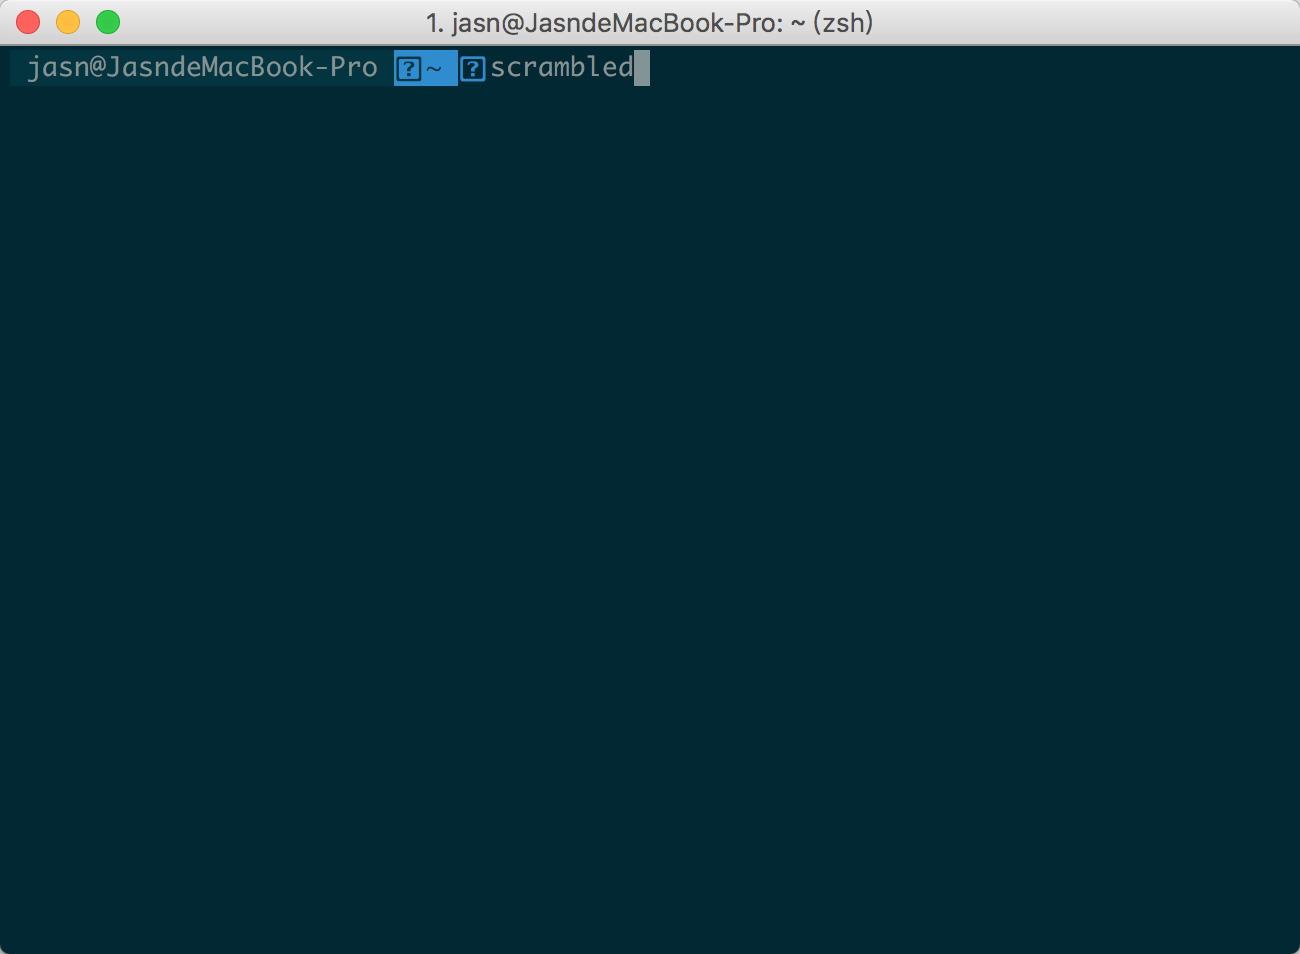
解决乱码问题

装好后可能会出现乱码,这时就需要字体库支持
推荐使用powerline https://github.com/powerline/fonts
1 | git clone https://github.com/powerline/fonts.git ~/powerline-fonts |
执行上面两段命令后,会输出这样一行成功提示
All Powerline fonts installed to /Users/superdanny/Library/Fonts
回到item2的preference,在profiles -> Text -> Font 中更改字体为 for Powerline 后缀的字体
重启item2后乱码问题解决
指令高亮
输入正确命令显示绿色,错误则为红色(ls为绿,l为红)
克隆工程到目录(推荐.zshrc所在目录),并在.zshrc文件末尾加上执行内容(XXX为文件目录)
1 | git clone git://github.com/zsh-users/zsh-syntax-highlighting.git |
并且需修改.zshrc中的plugin配置
1 | plugins=(git zsh-syntax-highlighting) # 自己按需把要用的 plugin 写上 |
修改vim配色
1 | $ cd solarized |
修改ls配色
1 | $ vi ~/.bash_profile |
修改完.bash_profile需要source .bash_profile
大功告成啦,enjoy it!!